HỖ TRỢ TRỰC TUYẾN
Product name: Contact-Type Digital Displacement Sensor HG-S
Category: Sensors
![]() CONTACTS: 0934.361.799
CONTACTS: 0934.361.799
Details
Slim & Robust Sensor Unit
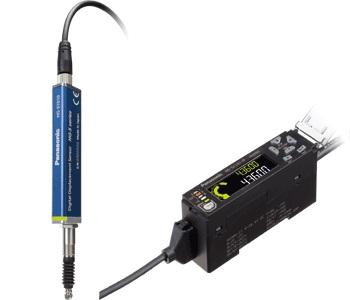
Introducing Contact-Type Digital Displacement Sensor
Featuring optical absolute method in the slim and strong unit body
|
 |
CE Approved
Features
|
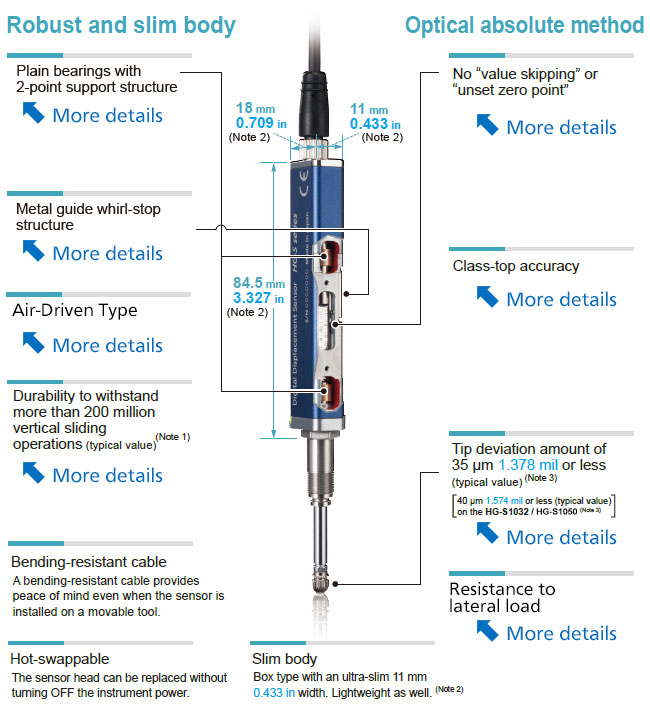
The slim unit body contains plain bearings with 2-point support structure disperses load and achieves superb durability. The sensor head offers long life and reduces maintenance costs dramatically.
|
Notes :
| 1) | Value on the HG-S1010 / HG-S1110. |
|---|---|
| 2) | Value on the HG-S1010(R) / HG-S1110(R). |
Superb craftsmanship!
The accuracy and robustness of the HG-S series are backed by master craftsmanship.
The plain bearings are accurately aligned with the center of the spindle during their installation to the top and bottom sections of the body to ensure smooth sliding.
This process involves careful adjustment of each bearing by a skilled worker. Even though the plain bearing has a certain width, the clearance is managed to the accuracy of several μm.
Those with experience in mechanisms design will know that this value signifies amazingly high control precision.
The high-precision, robust sensor is made possible by master craftsmanship.
Maximize the high accuracy of our sensors in your pursuit of "ever higher levels of quality."
Plain bearings with 2-point support structure
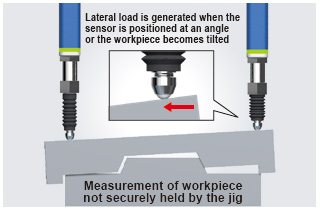
A new structure supports the spindle with upper and lower plain bearings to significantly increase rigidity. Unlike ball bearings, these bearings efficiently disperse lateral loads on the spindle, significantly reducing the risk of breakage.
Metal guide whirl-stop structure
 |
Spindle whirl-stop is accomplished by means of a metal guide requiring a several μm level assembly precision. Unlike a plastic guide, the risk of measurement error and glass scale breakage caused by deformation, wear, and other deterioration is significantly reduced. |
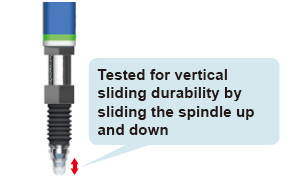
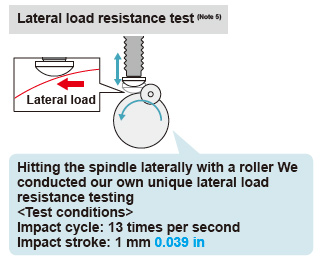
Durability to withstand more than 200 million horizontal and 200 million vertical sliding operations (reference value) (Note 3)
|
|
Notes :
| 3) | Value on the HG-S1010 / HG-S1110. |
|---|---|
| 4) | Button-type probe for evaluation purposes was installed on the test sample for the lateral load resistance test. |
No "value skipping" or "unset zero point"
Displacement is measured by reading a glass scale with a different slit pattern at each reading position using a high-resolution sensor. This eliminates "value skipping" even when measuring at high speed, and there is no concern of "unset zero point".
Class-top accuracy
|
Tip deviation amount of 35 μm 1.378 mil or less
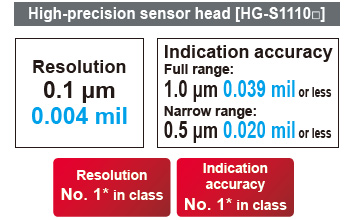
Tip deviation, which impairs measurement accuracy, is minimized. The precision with which the HG-S series is assembled makes this possible.
* Less than 40 μm 1.574 mil on the HG-S1032.
Resistant to upward thrust impact
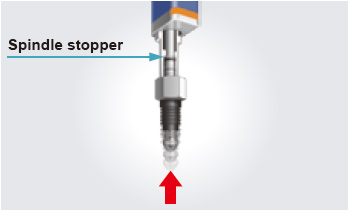
Spindle stopper installed at the lower section
Even if unexpected upward thrust occurs, the lower part of the spindle blocks the impact. Damage to the internal structure, including the glass scale, is minimized.
|
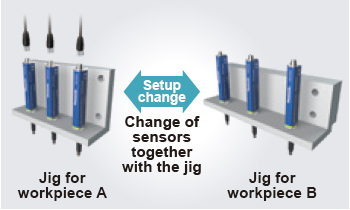
Hot-swappable
Change of sensor head without turning off the power supply
The sensor head can be changed safely without turning off the controller. This reduces the man-hours required for the change of line setup for processing of different workpieces, thus achieving a significant reduction of setup change time.
|
Versatile and Easy-to-Use Controller
The controller features the industry's first* dual display and offers versatile
functions and excellent ease of use.
It allows simple and reliable operation of the advanced measurement function in a diversity of applications.
* As a sensor product using optical absolute method, as of September 2015 (according to our company's investigation)
|
High-speed response of 3 ms in combination with any sensor head
Provided with maintenance mode useful on production floor
The following data are stored and can be used for analysis on the spot.
• Abnormal sensor head upward thrust value
• Number of sensor head upward thrusts
• Cumulative total number of sliding operations
Alarm setting for notification of upward thrust
Alarm can be set to notify an upward thrust (stroke) that exceeds the set level. This allows you to conduct a preventive maintenance before the sensor head generates a malfunction.
Easy-to-understand 2-line digital display
The 2-line digital display simultaneously shows sensor head measurement and judgment value.
The 2-line digital display simultaneously shows head measurement (measured value) and judgment value (calculated value).
|
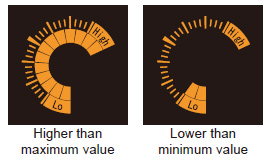
Equipped with intuitive circle meter
Values between allowable maximum and minimum values are indicated in green. Values outside of the allowable range are indicated in orange. This provides at-a-glance understanding of the margin to the tolerance limits.
|
Anytime selection of function to copy
The selective copy function significantly reduces the man-hours required for initial setting and maintenance.
|
Easy tolerance setting
Simple 1-point teaching
Align with master workpiece and press ENTER key for easy tolerance setting.
|
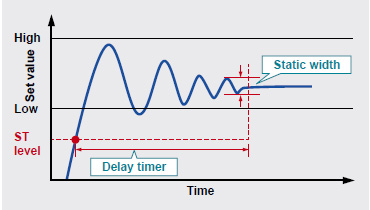
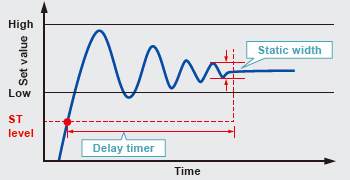
No need for trigger input
Equipped with self-trigger hold function
 |
Easy setting of time length from measurement start to measurement stabilization. |
Lateral connection of slave units for added operational ease
Connection of up to 15 slaves units
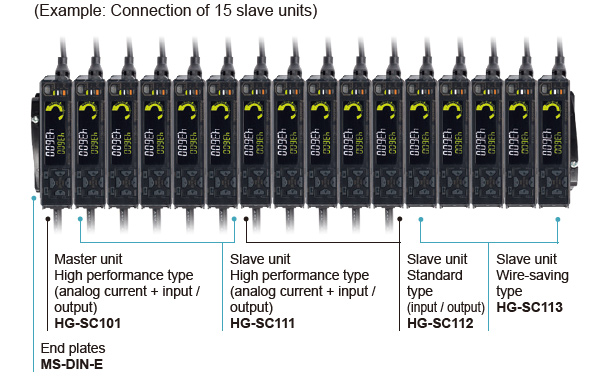
One master unit can be connected with up to 15 slave units in any order. This allows easy multi-point calculations.
Controller variations
?Master unit (1 model)?
?High performance type (analog current + input / output)
?Slave unit (3 models)?
?High performance type (analog current + input / output)
?Standard type (input / output)
?Wire-saving type
|
|














![Micro-differential Pressure High-precision Digital Pressure Sensor [For Gas] DP-M](/en/images/stories/virtuemart/product/resized/59356854-5164-42e4-a221-1e28671bed07_300x300.jpg)